Code name Iron-DR – Part 2 – The Brushless Motor Controllers


Brushless motor and controller

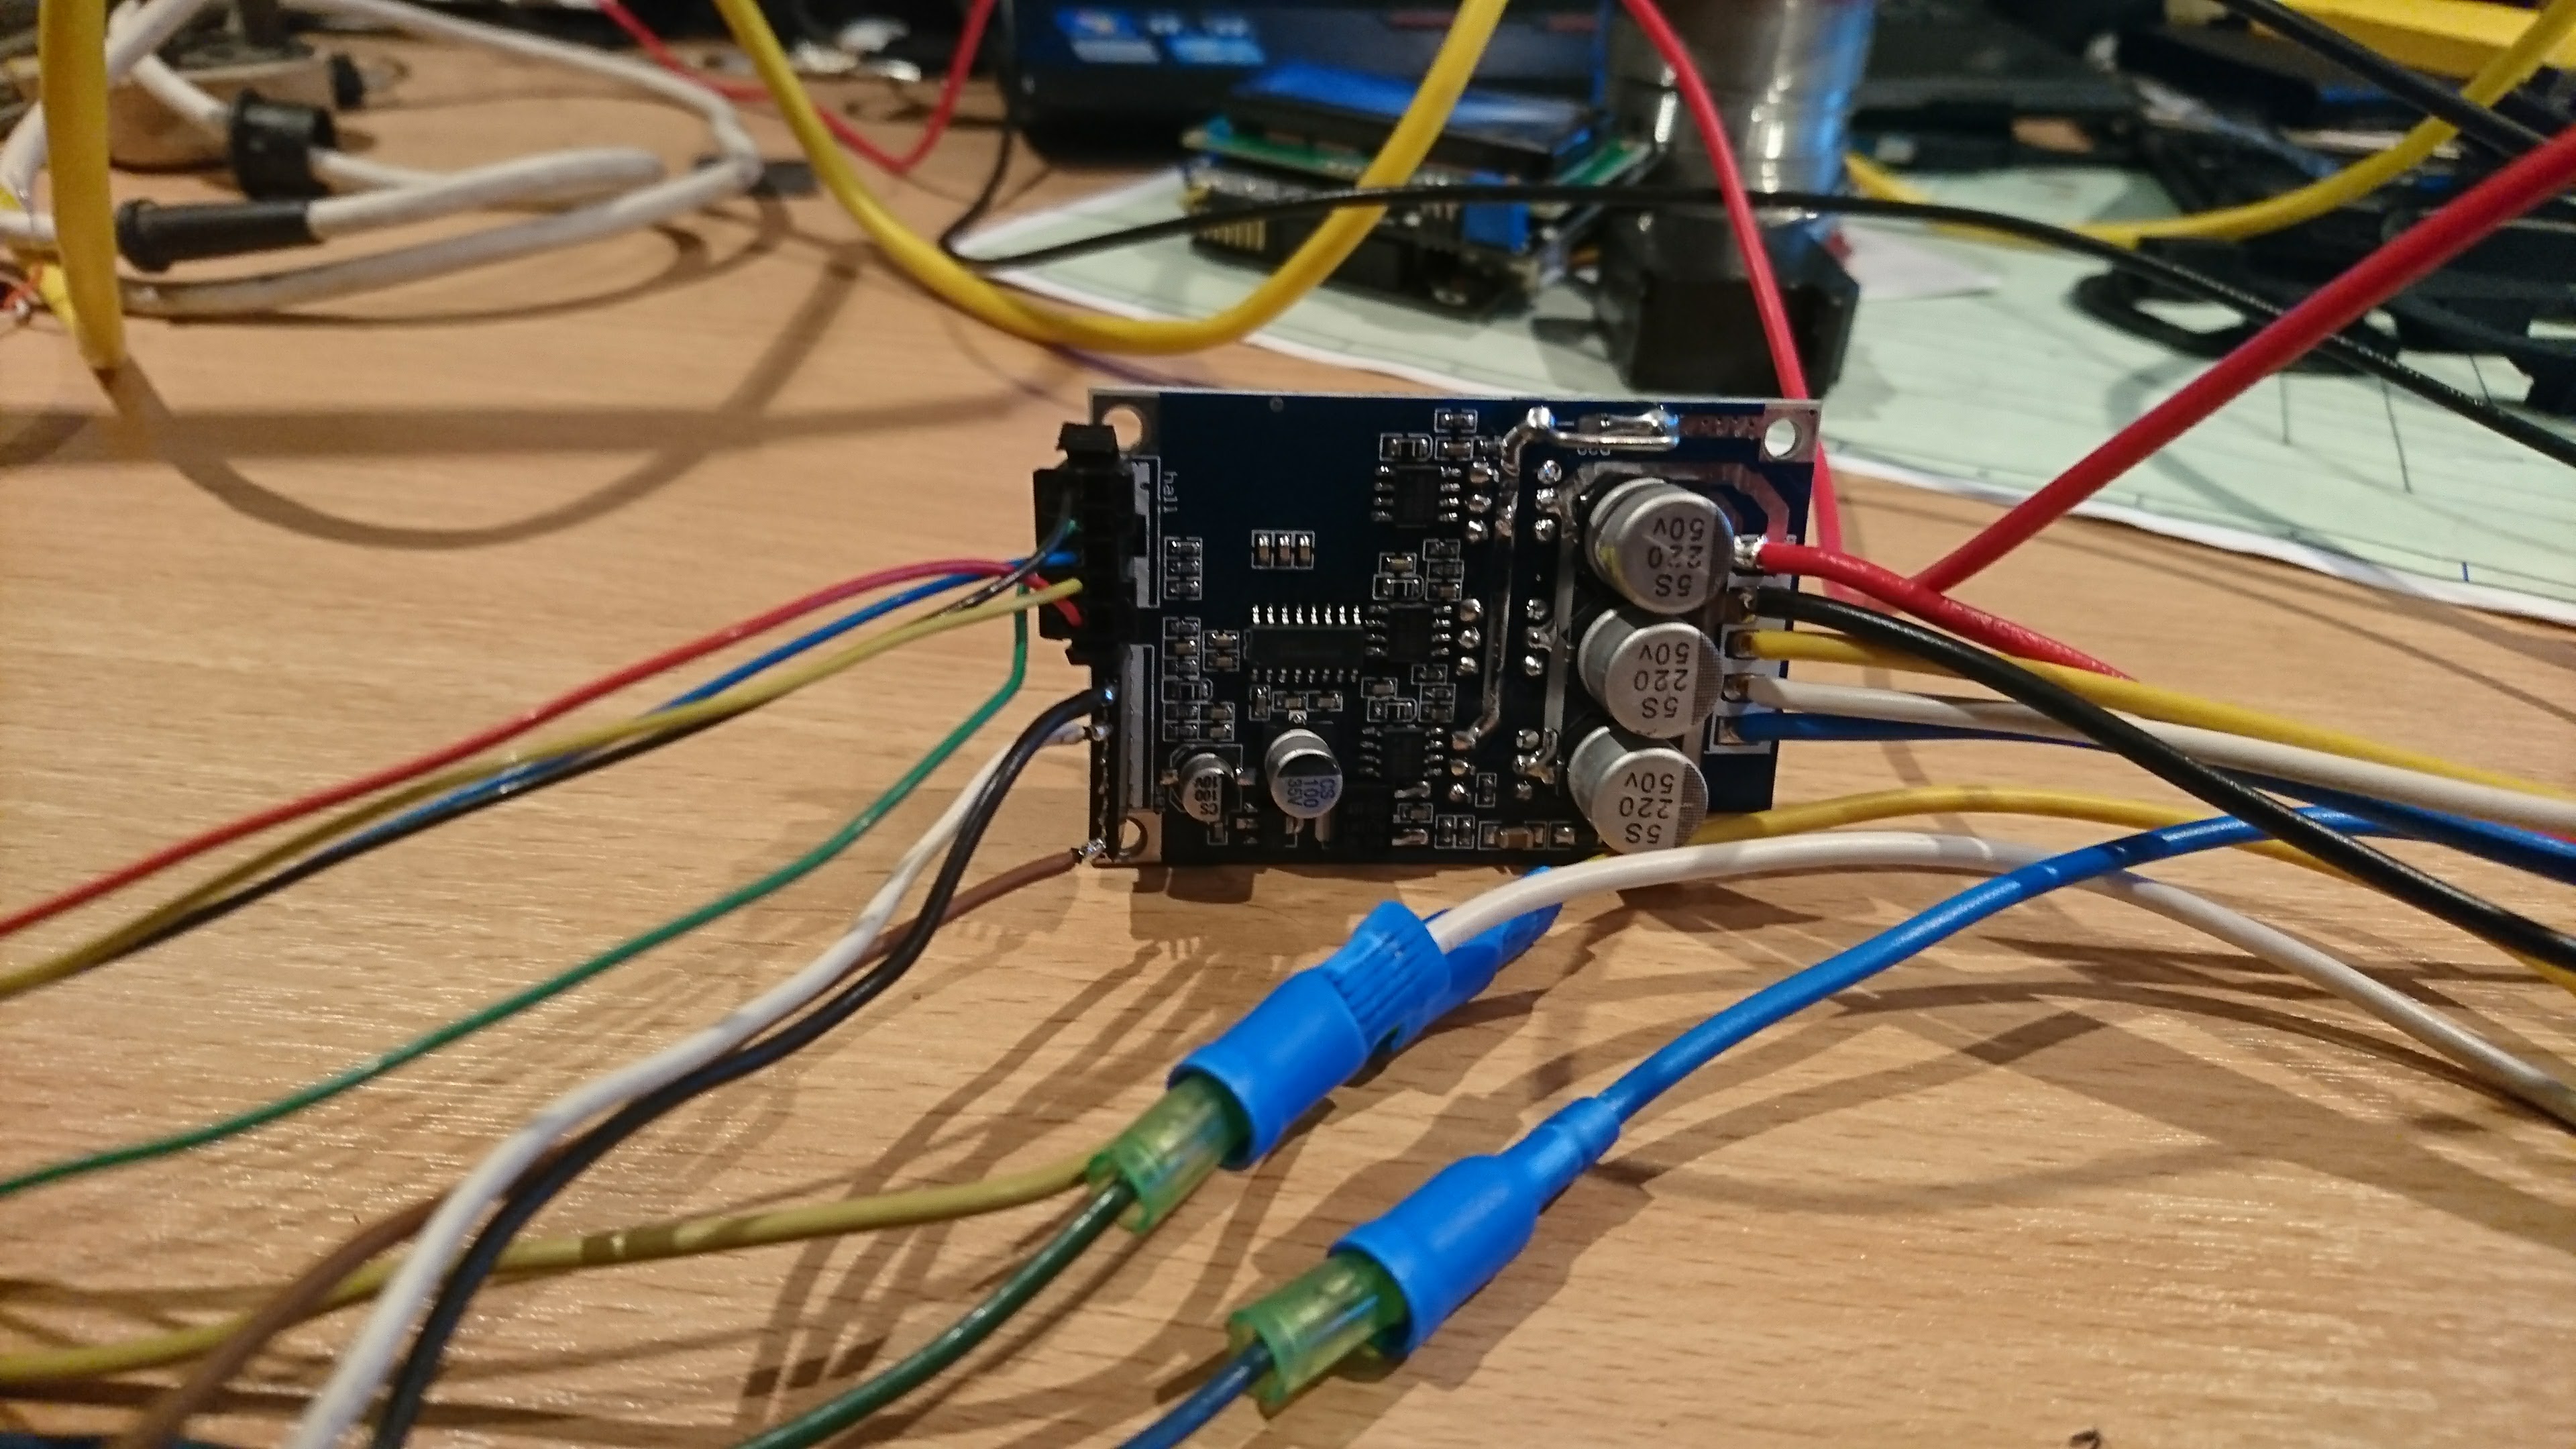
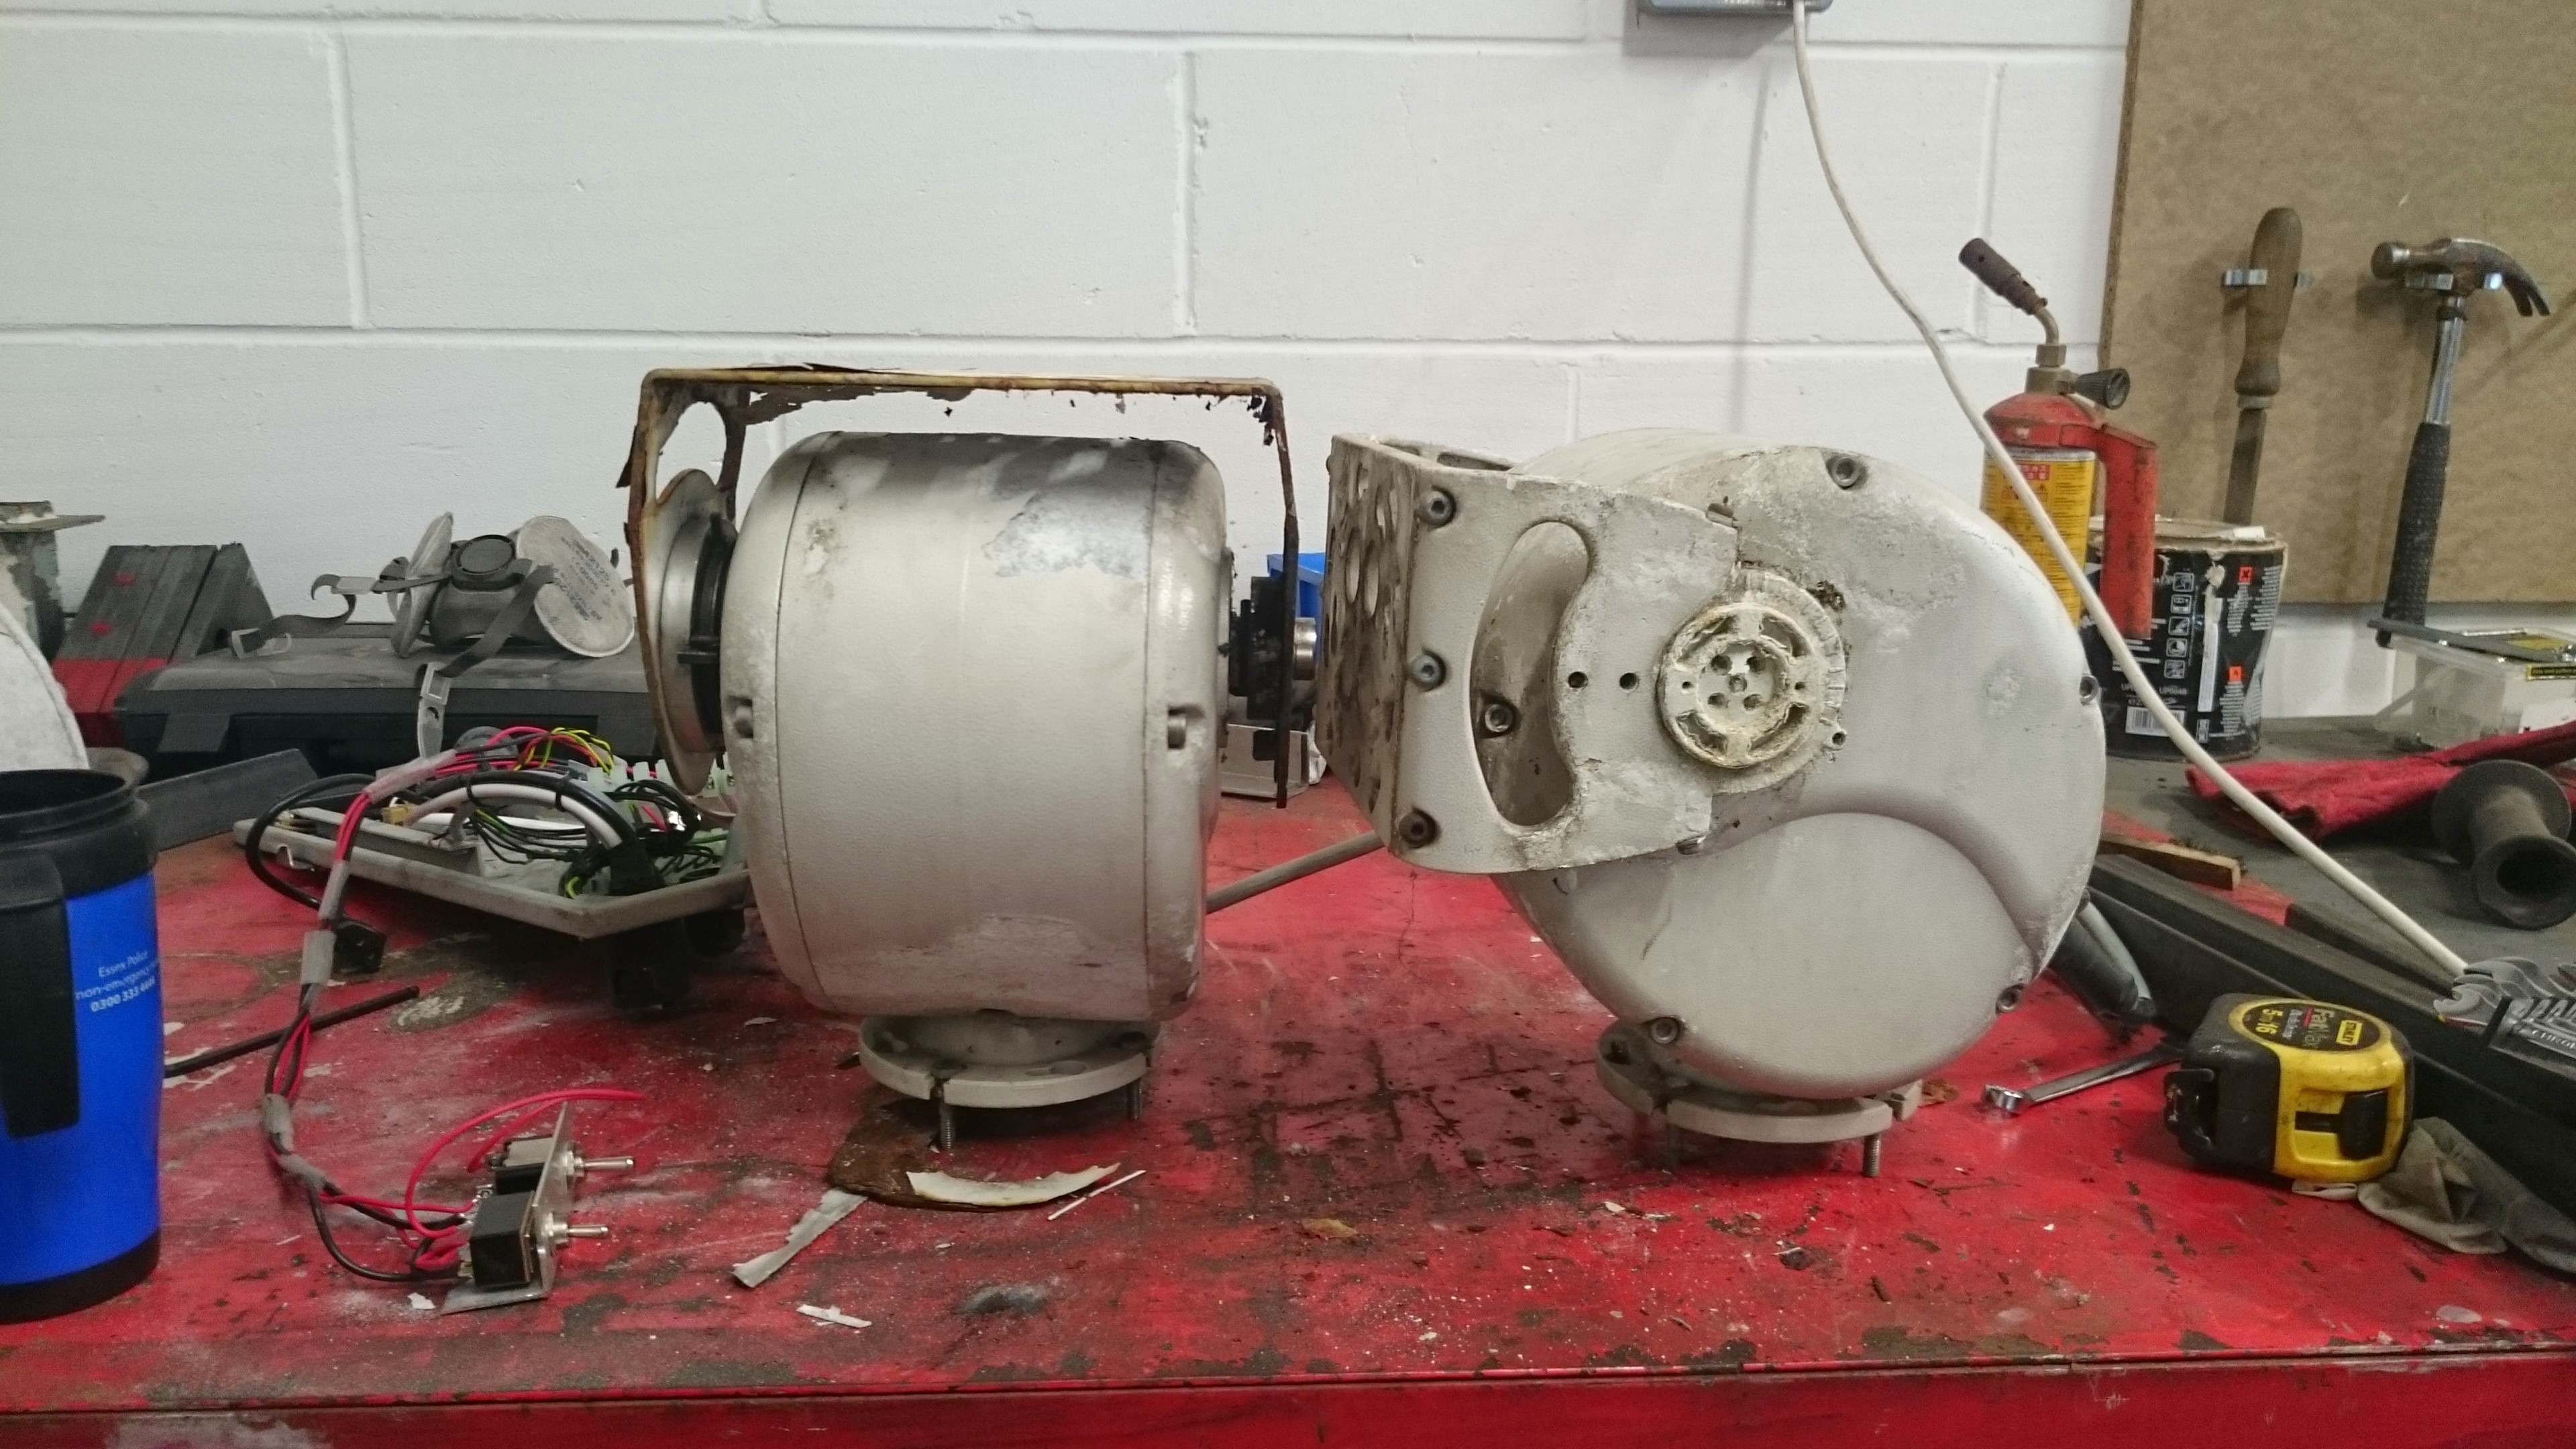
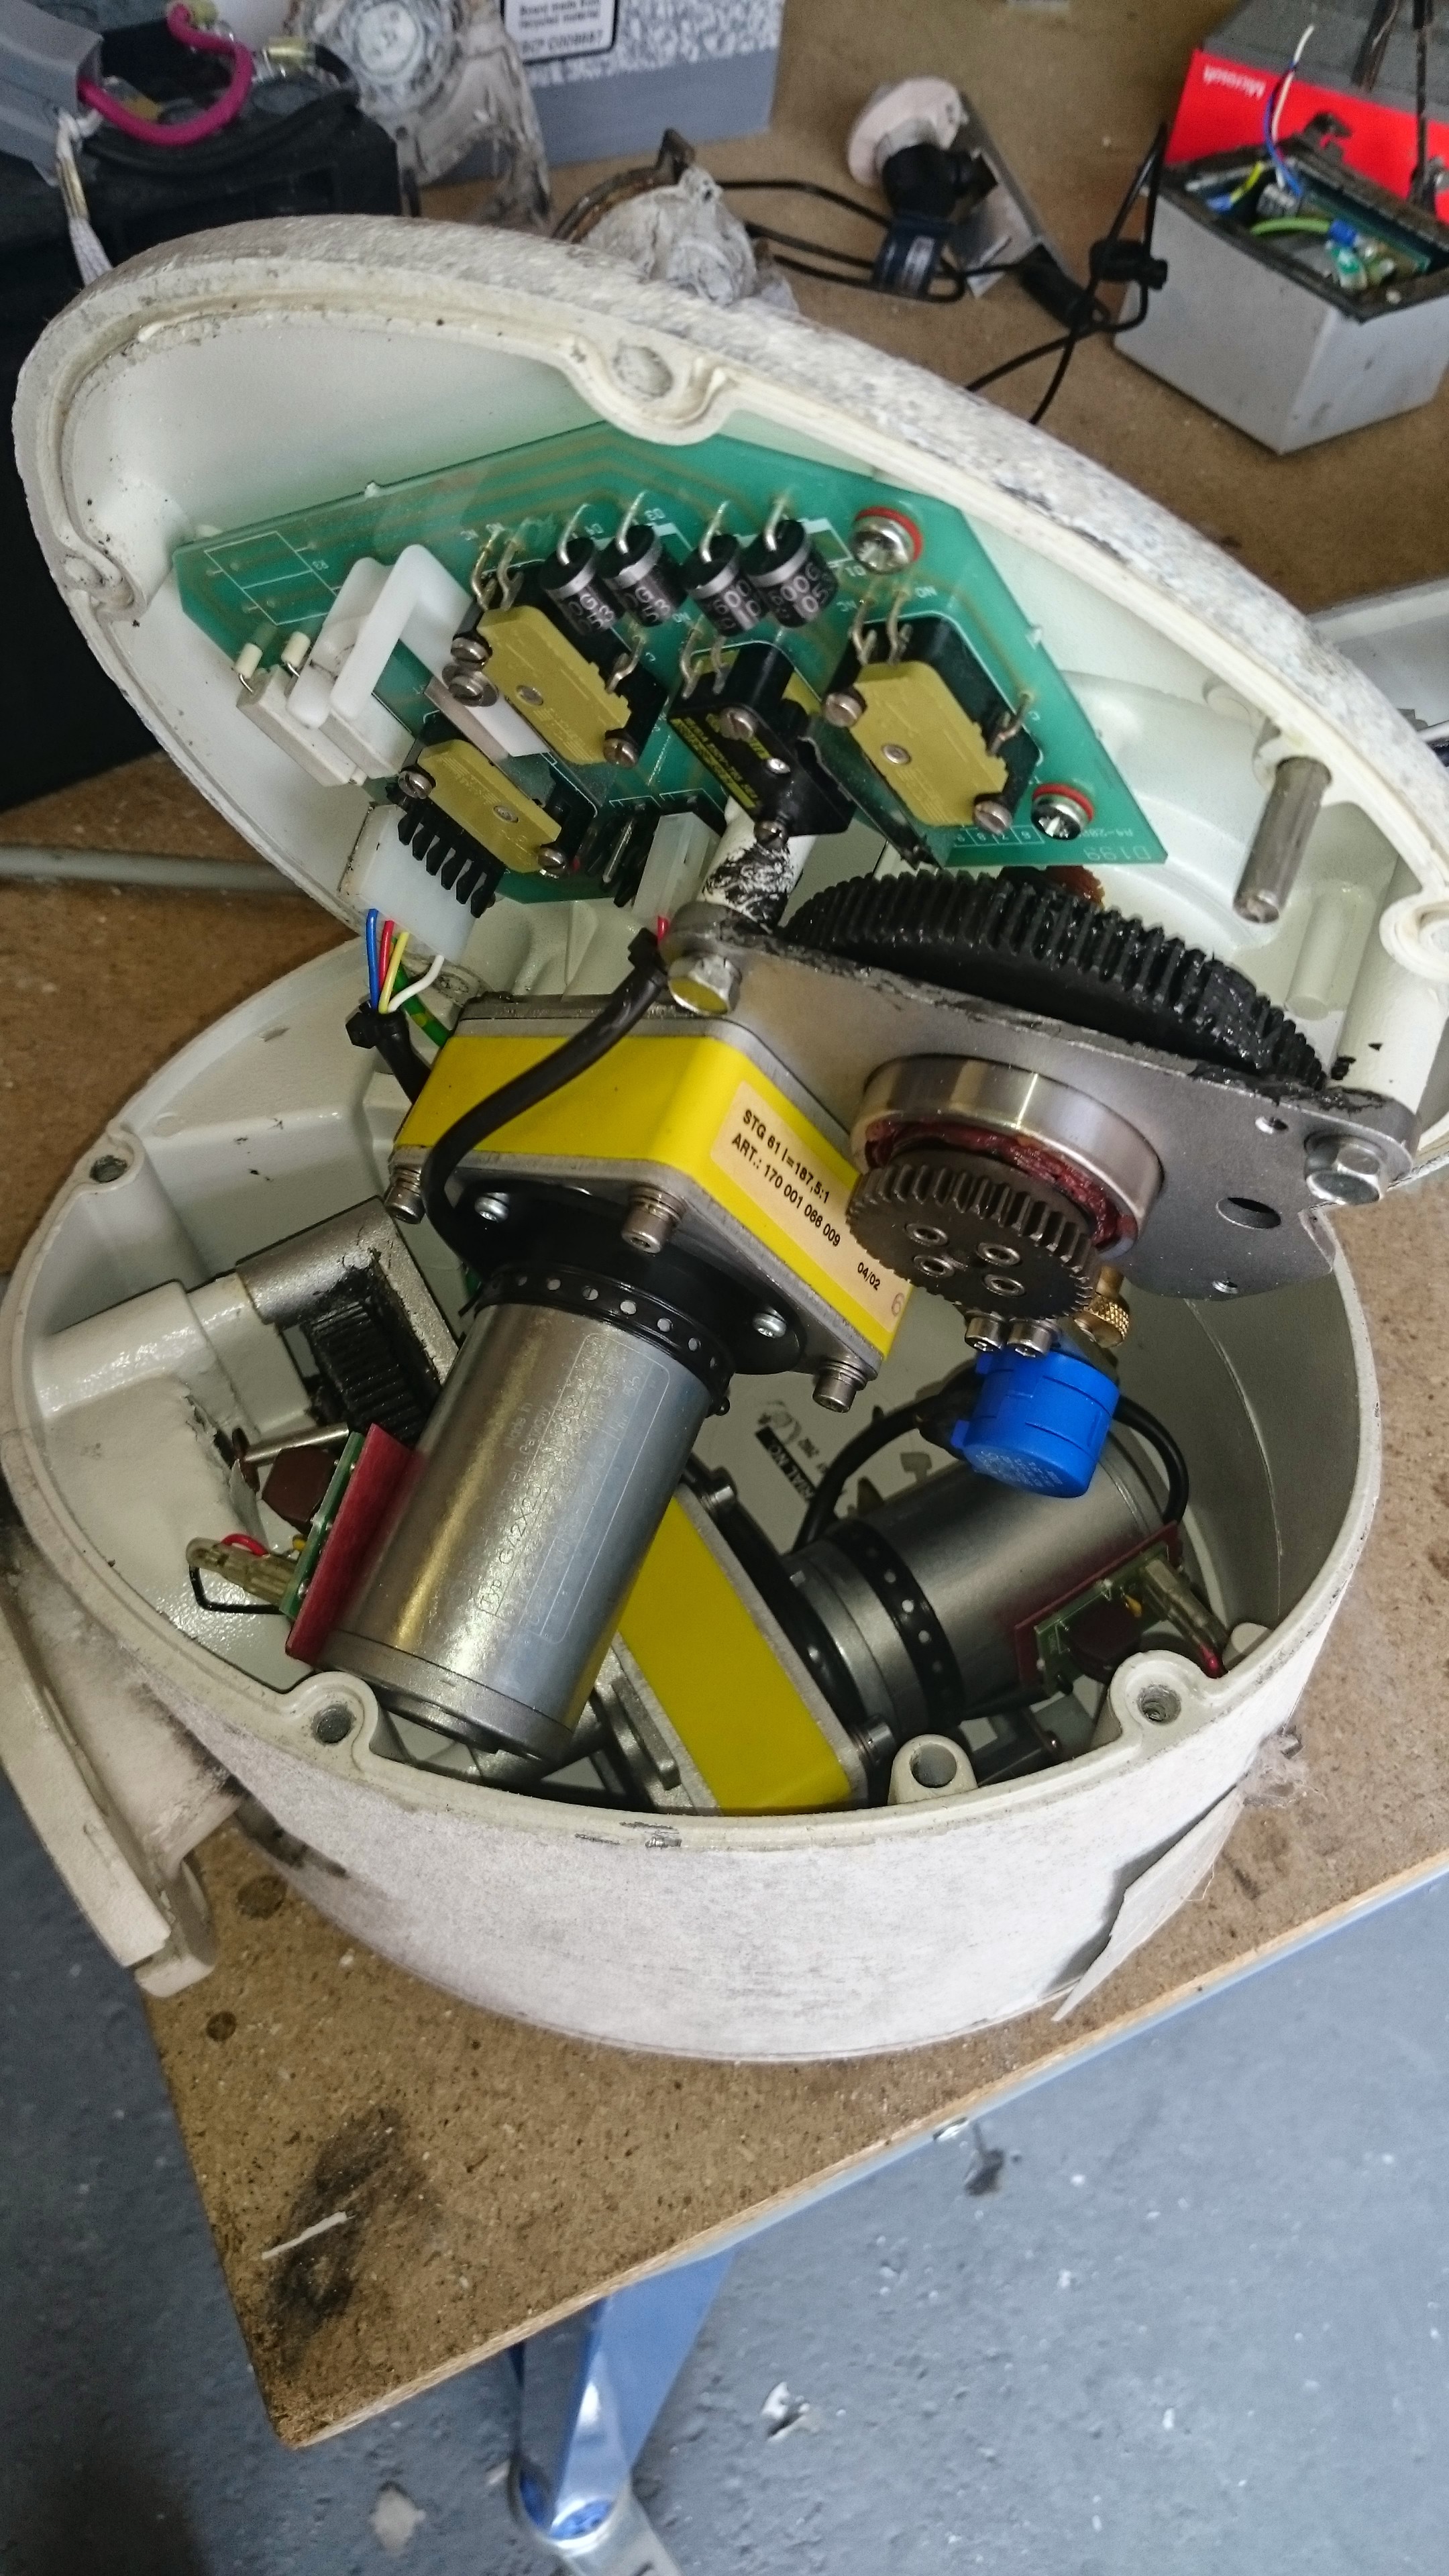
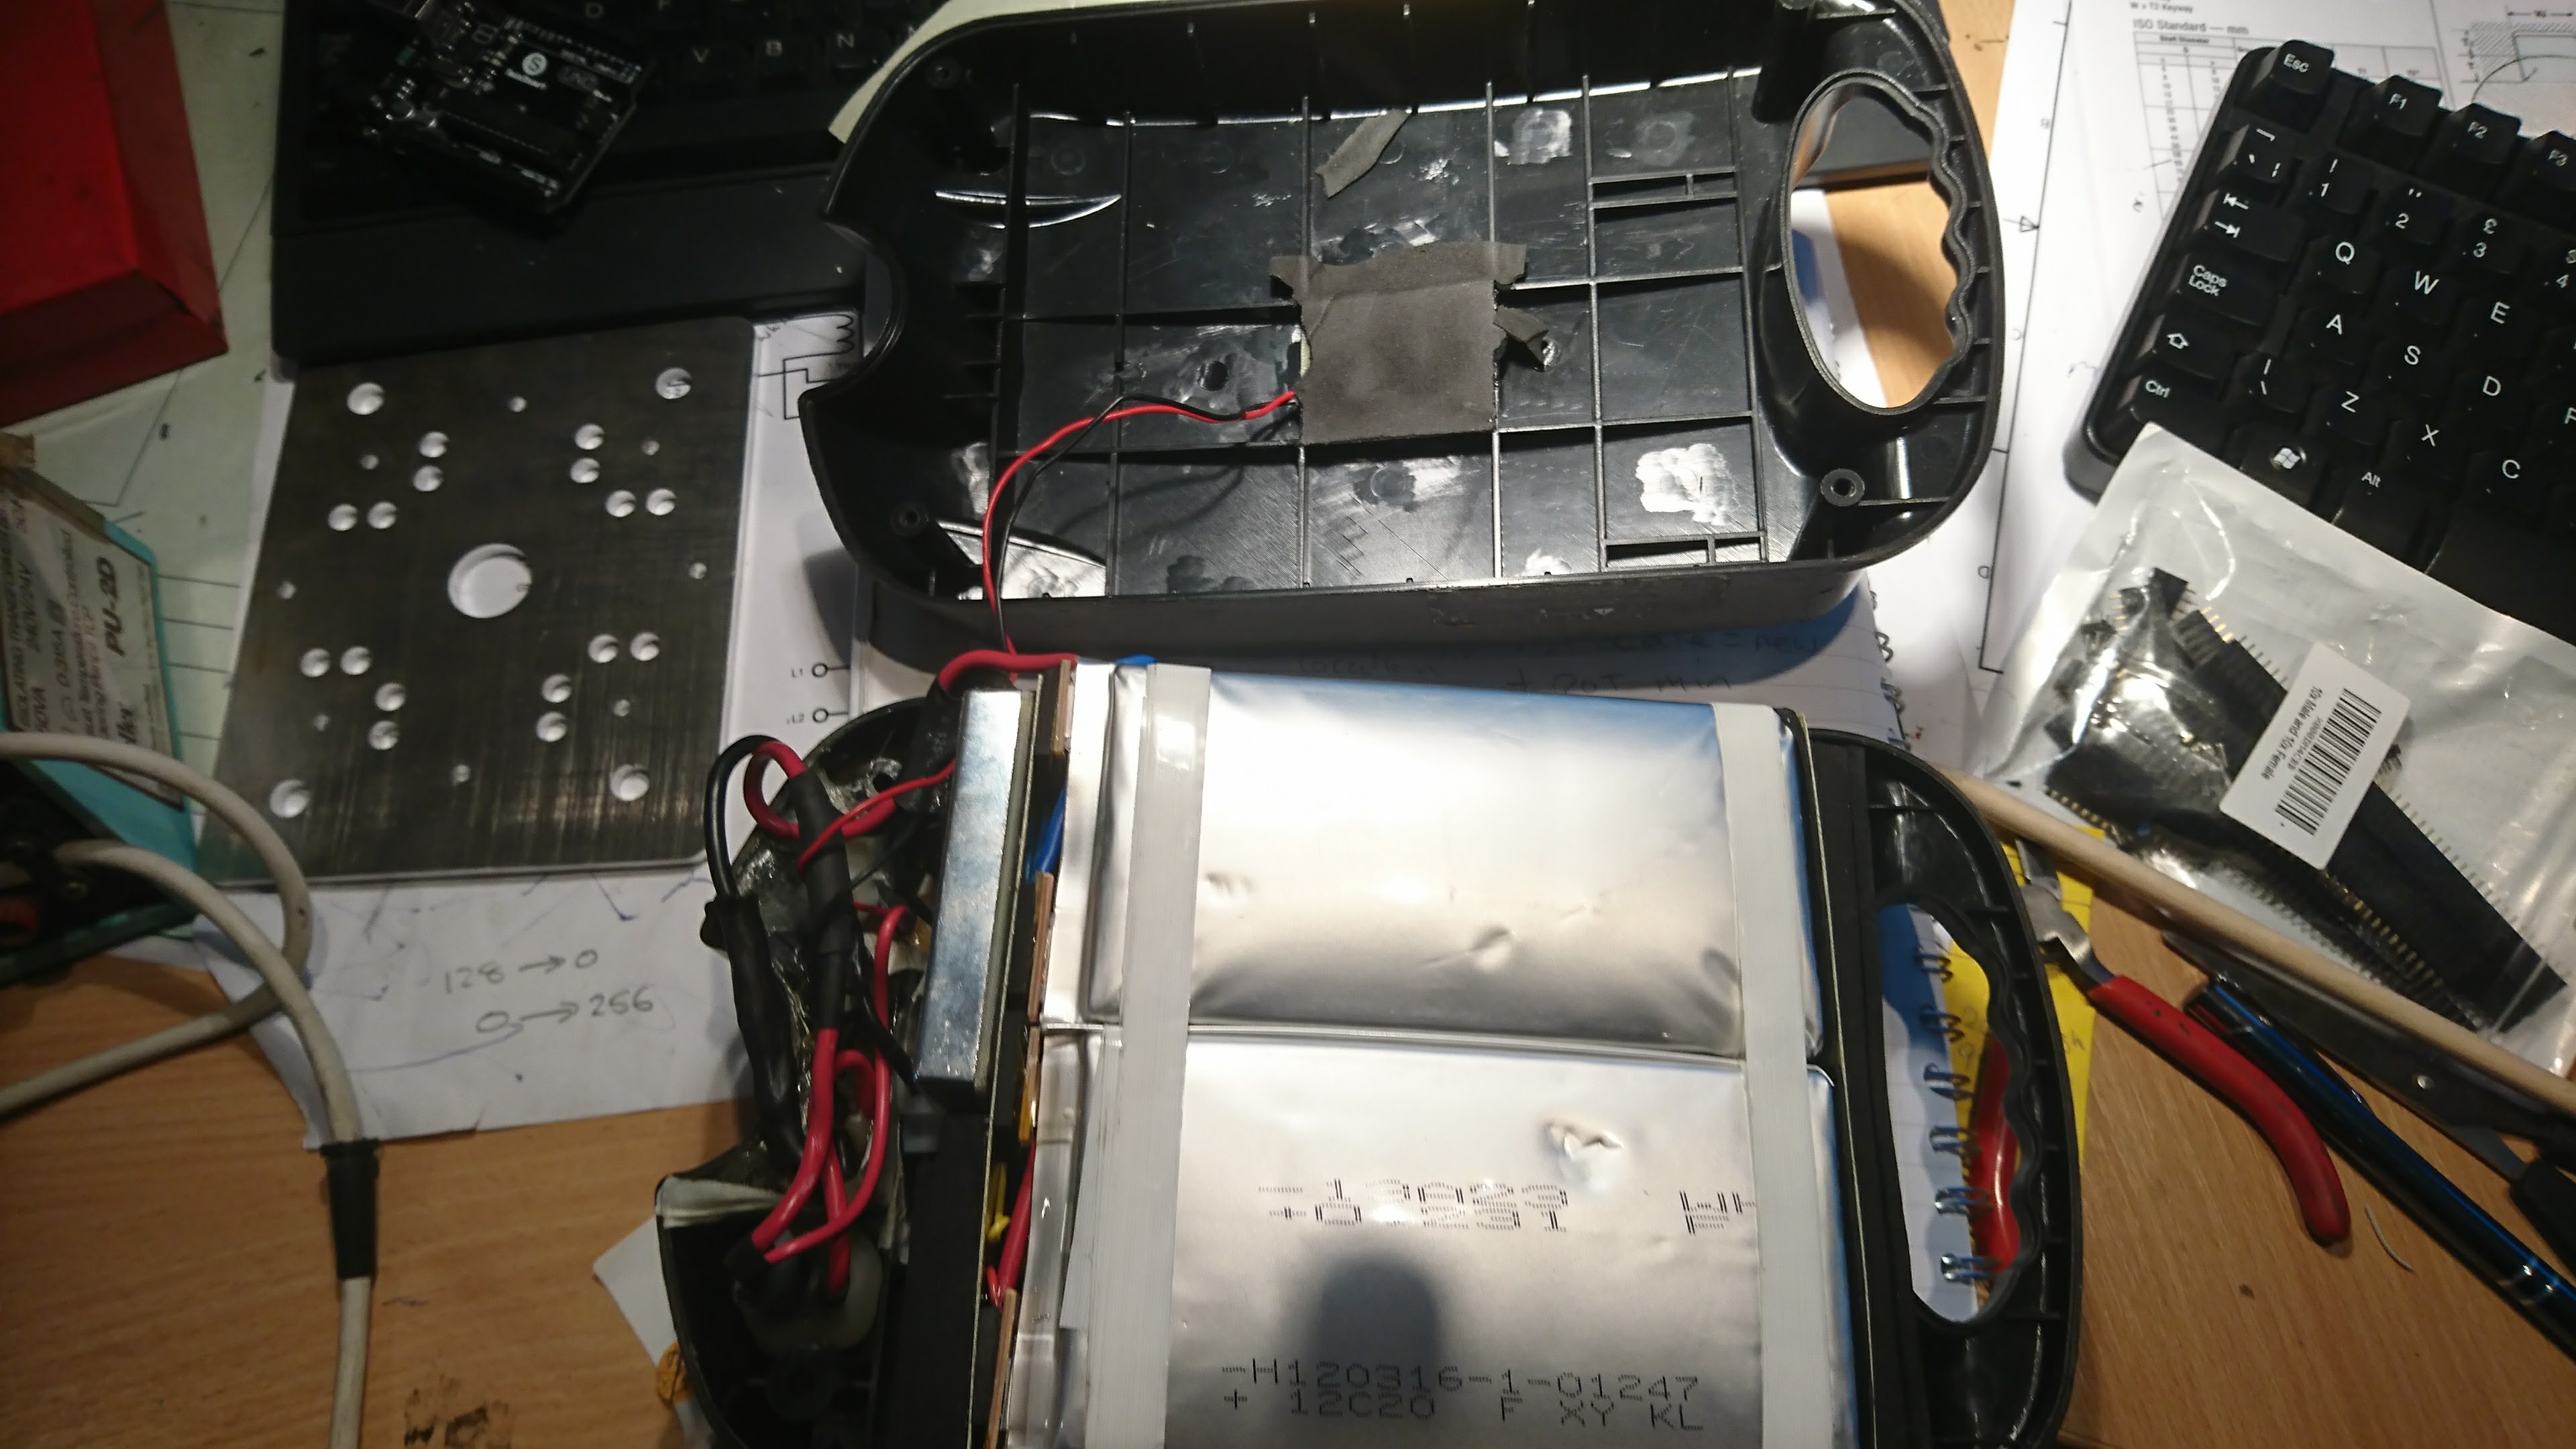
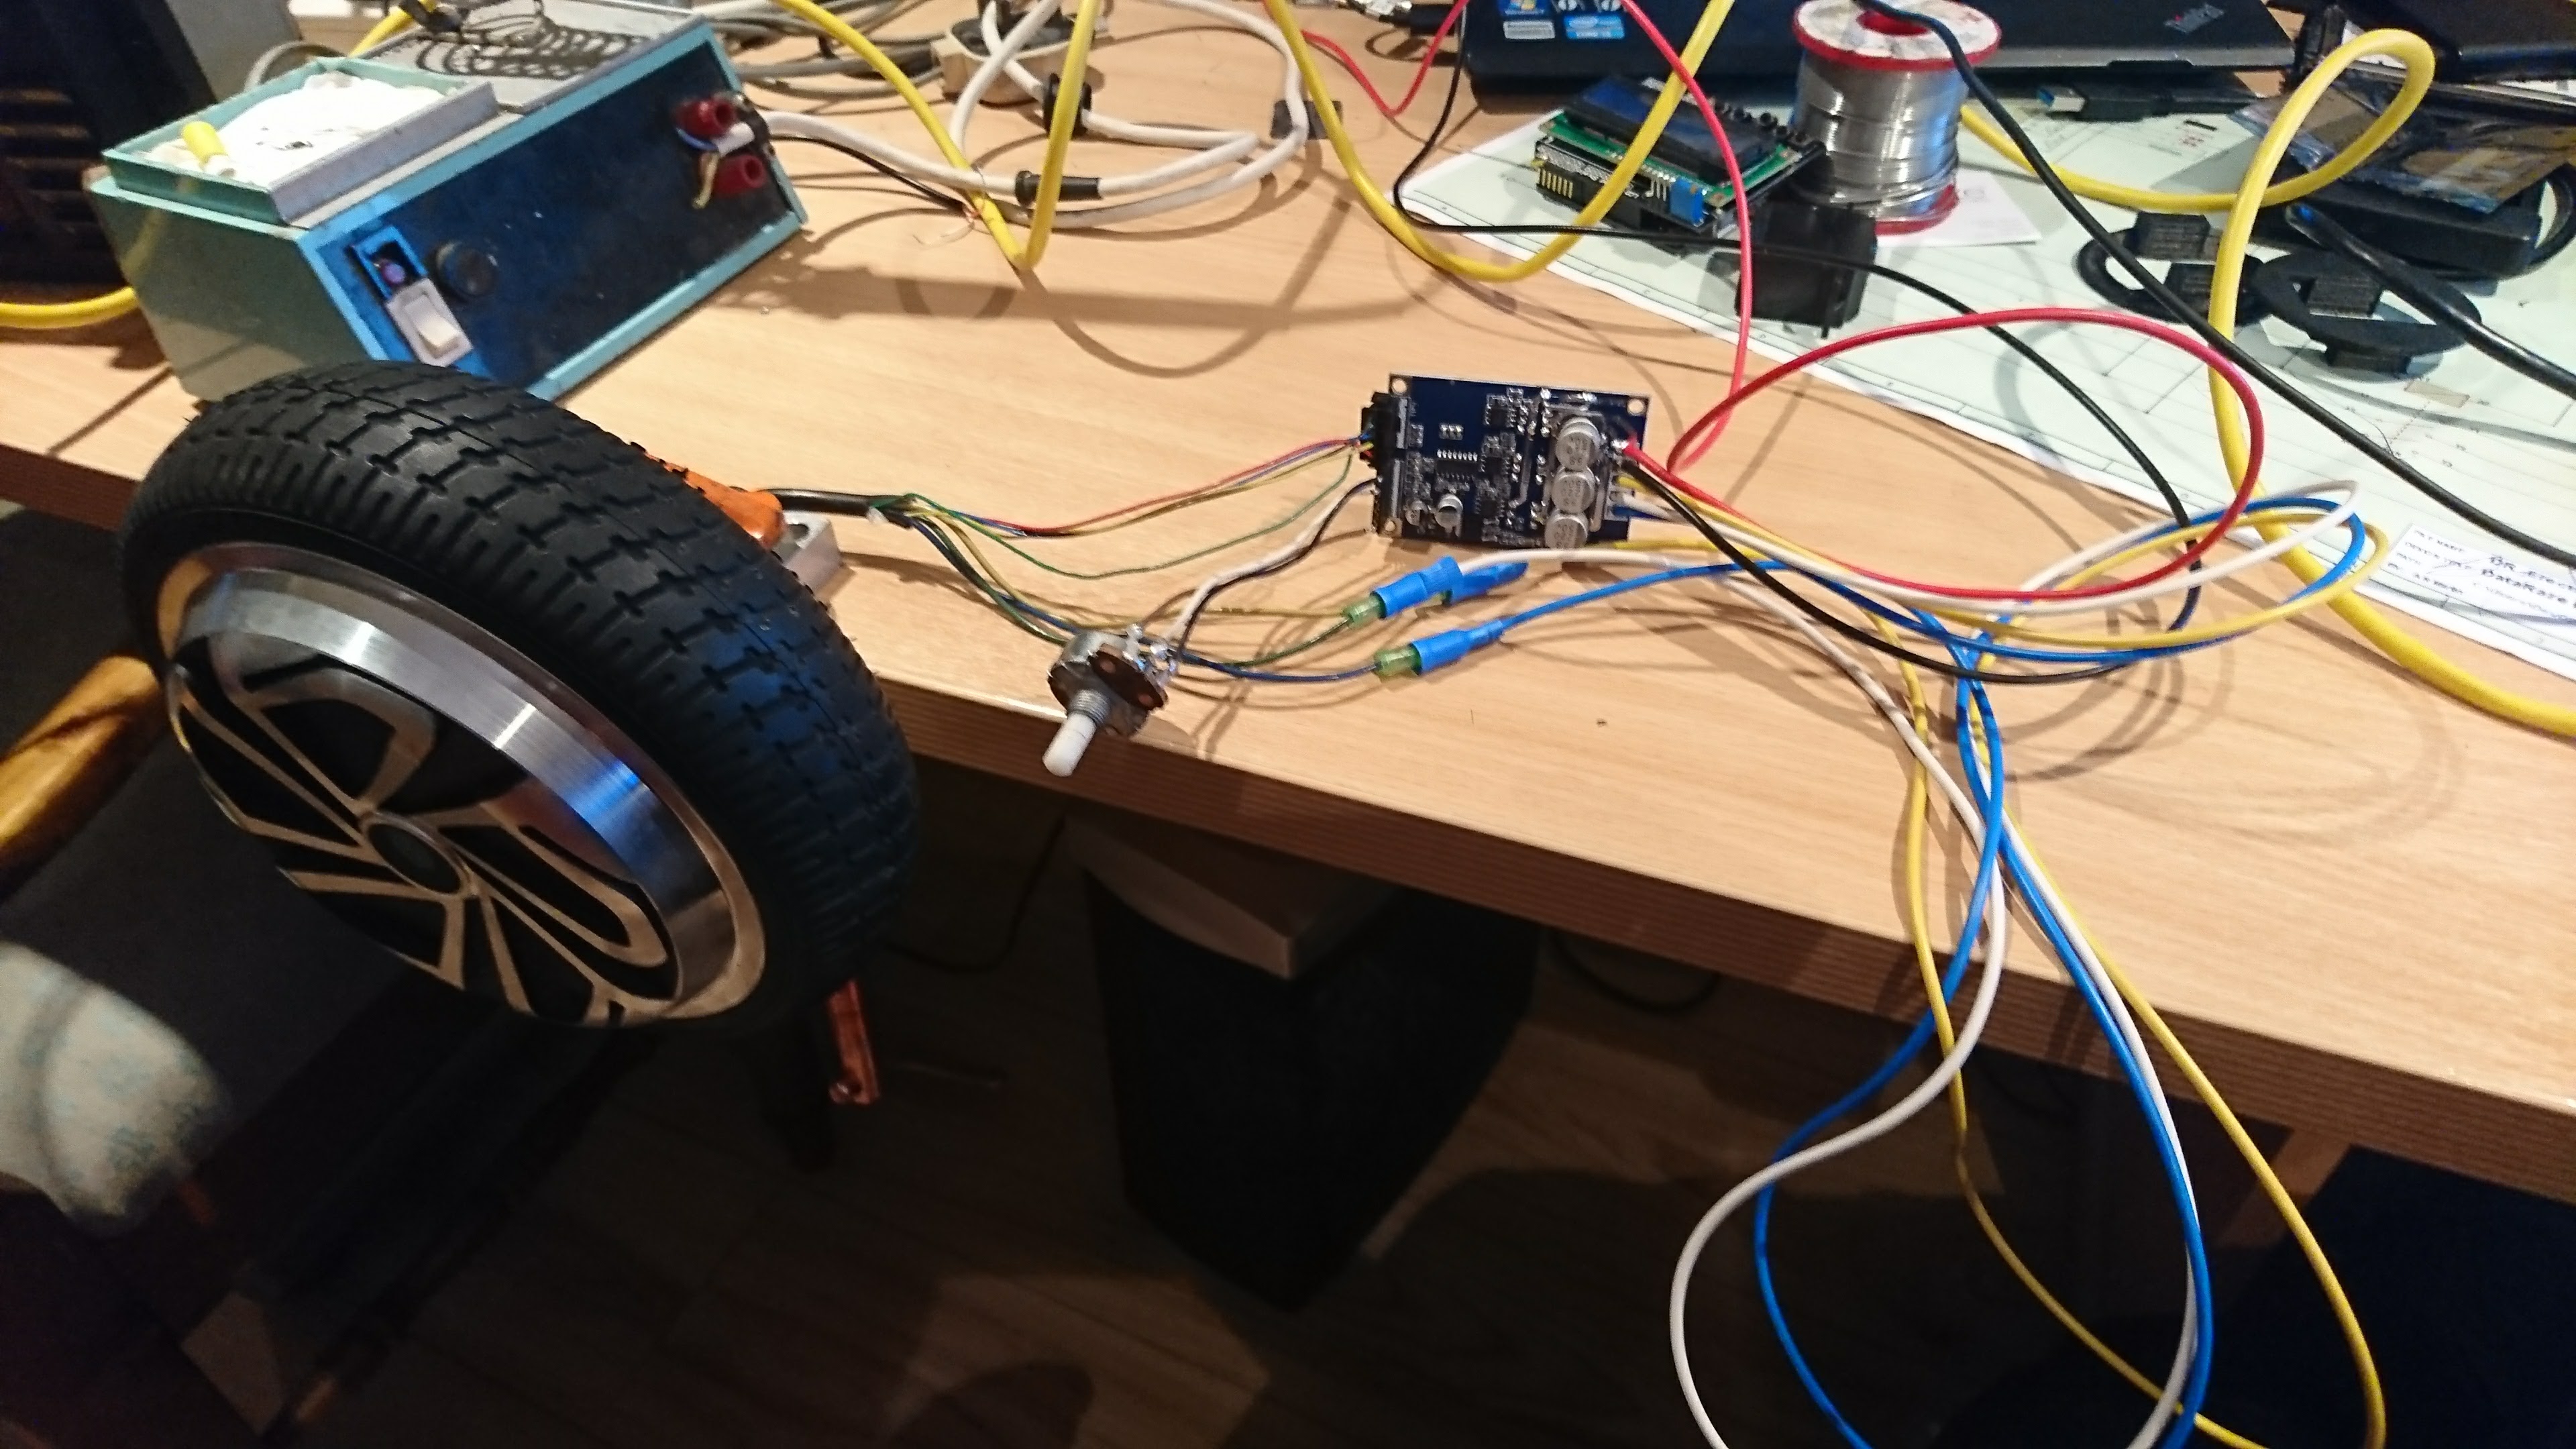
So I had sourced the relatively cheap motor / wheel assemblies from eBay, originally  used for those hover boards. The next issue was controlling them, I could easily make my own controller but I would want it to look good so would want a professional PCB made, which is all fine, i’m a design engineer I can do all that, but the cost soon adds up. So off to eBay again, sorry, and I run across some controller boards that cost around £7 have a voltage of 12 to 36 Volts and are said to handle 500 Watts if you put a heatsink on them. So I order a couple, a few weeks pass and they arrive from China, in the typical way with very lacking documentation, well none in fact just a jiffy bag and the boards. So I look over some other suppliers of the same board and find the pin outs. So I have some pins I need to pull high / low to choose direction and enable the motor then I have a variable voltage input (0-5 Volts) for the speed. RC network to the rescue coupled with the PWM output on an Arduino, bingo variable voltage output from a Micro controller. There is also a pulse counter output, I have not played with this, but should be useful to give an indication as to how much the motor has moved.

Motor Controllers Mounted

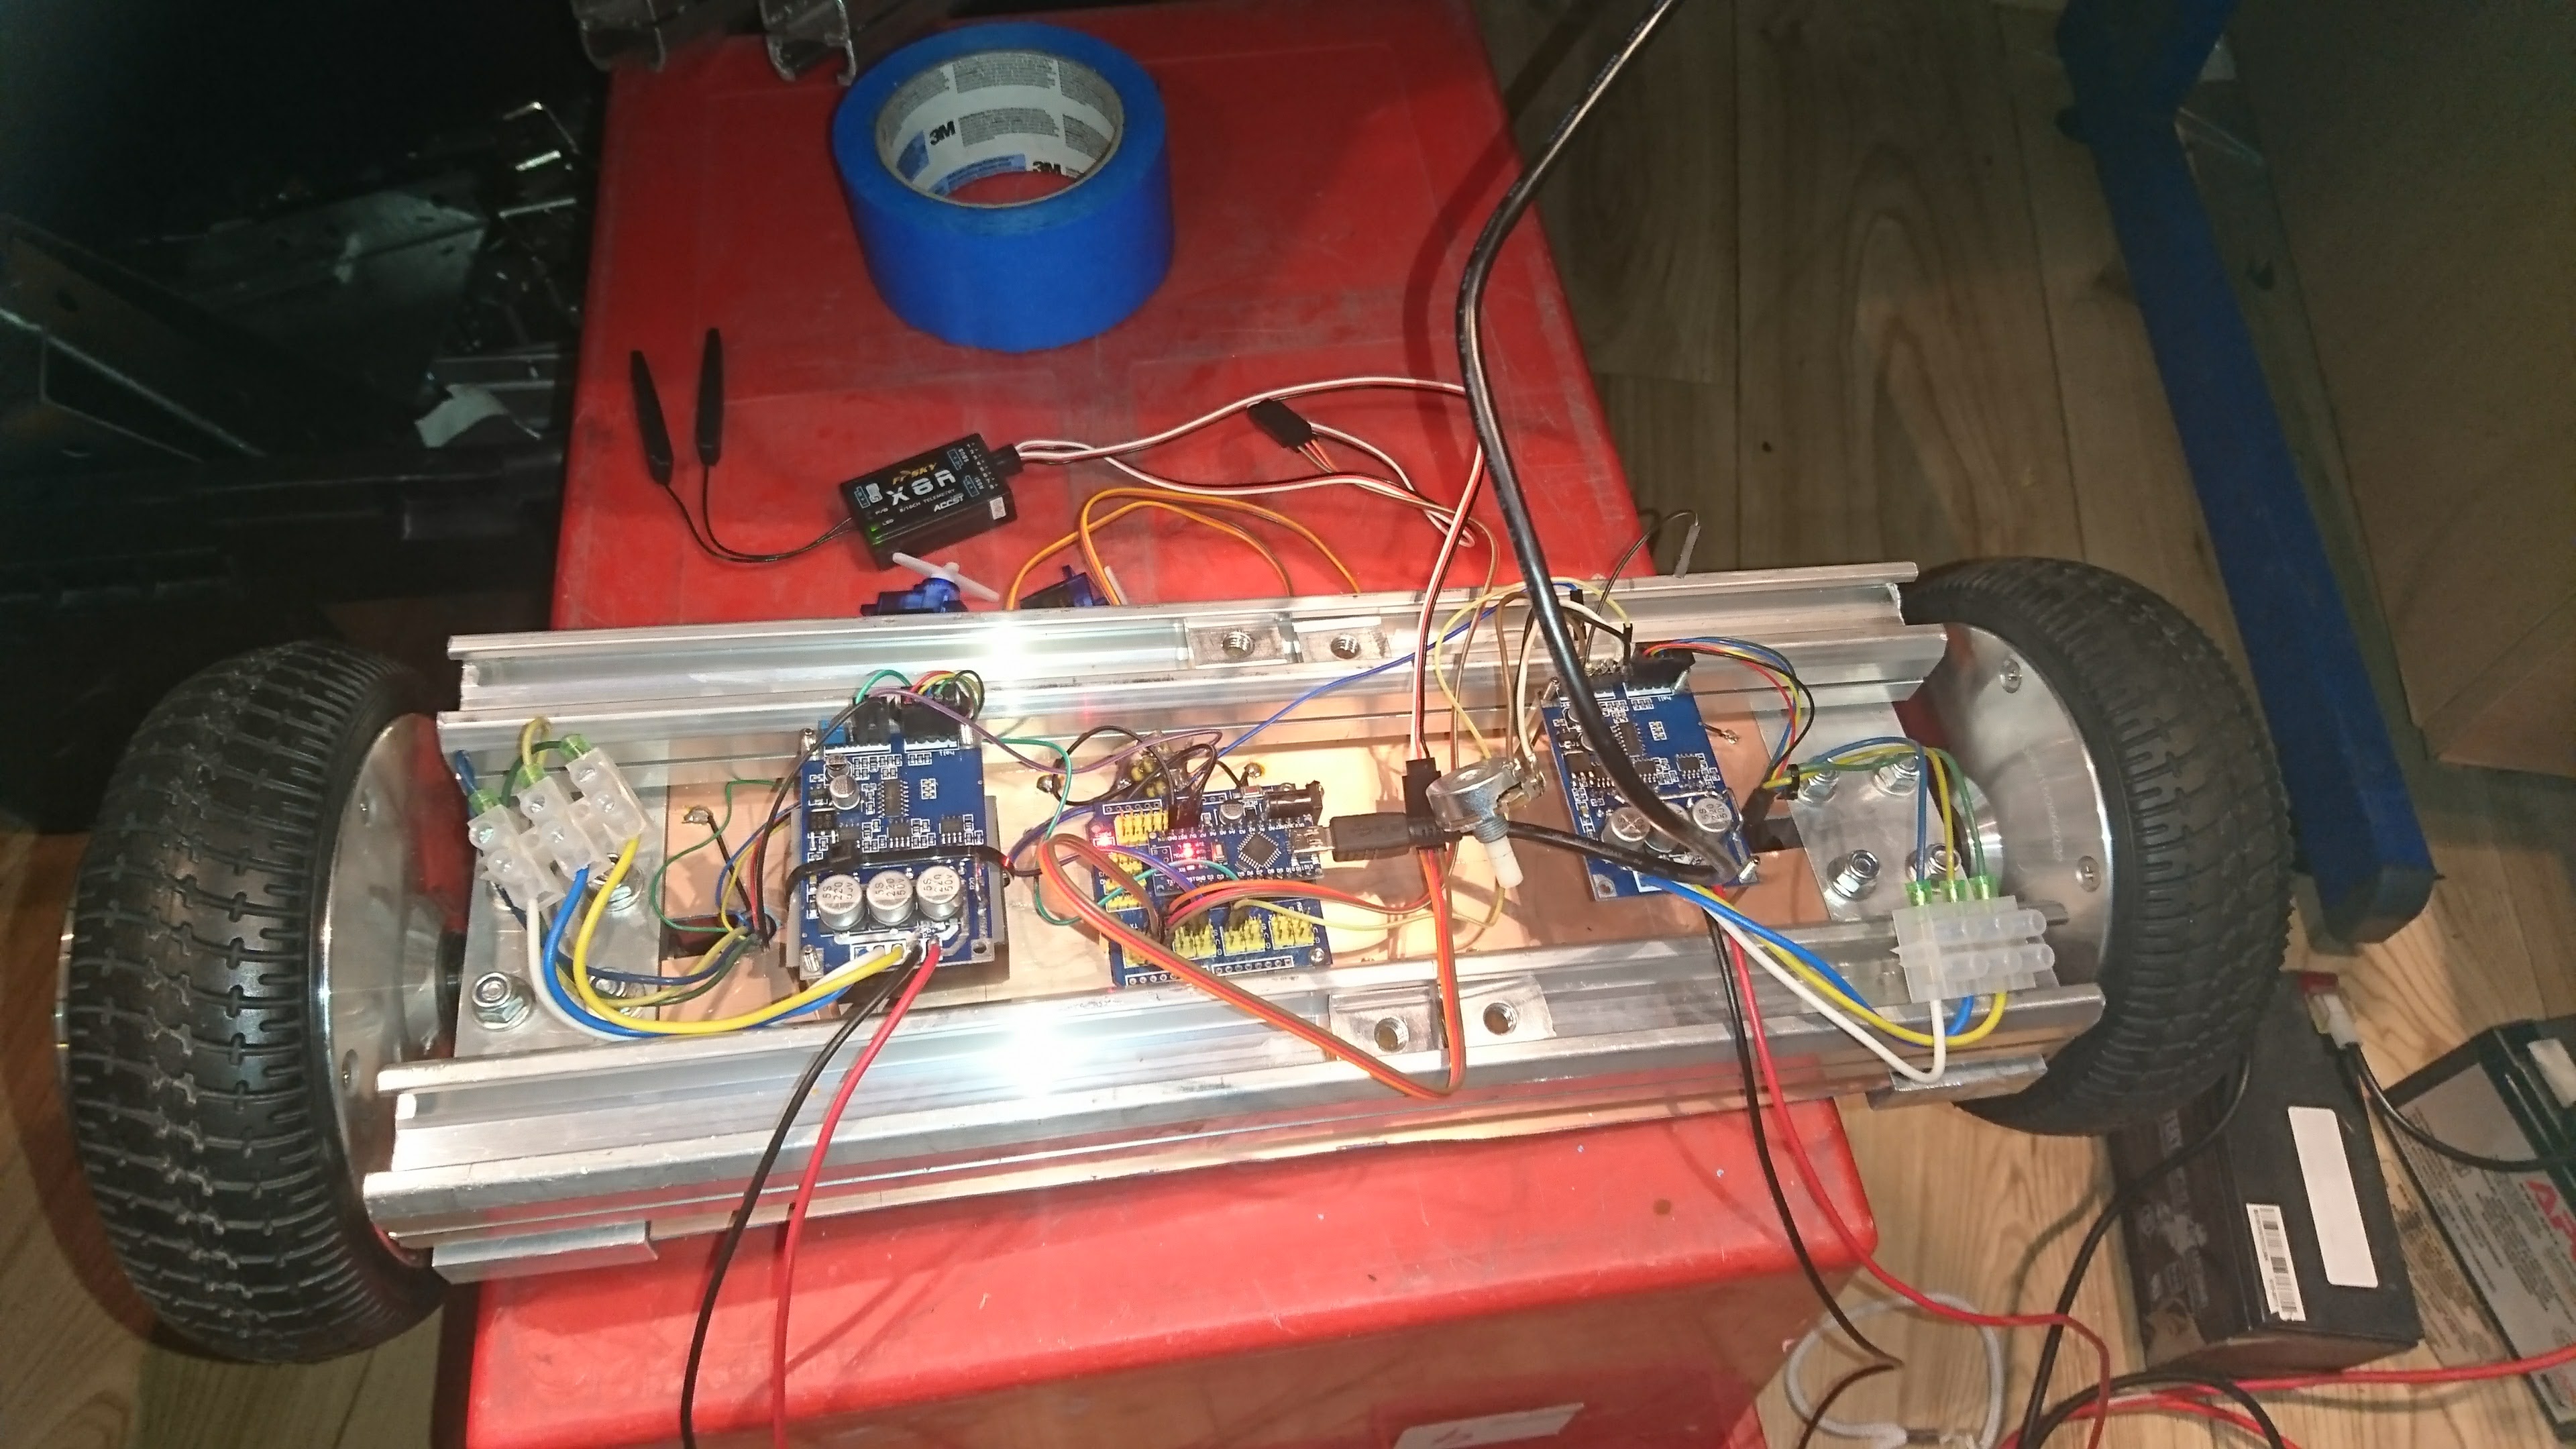
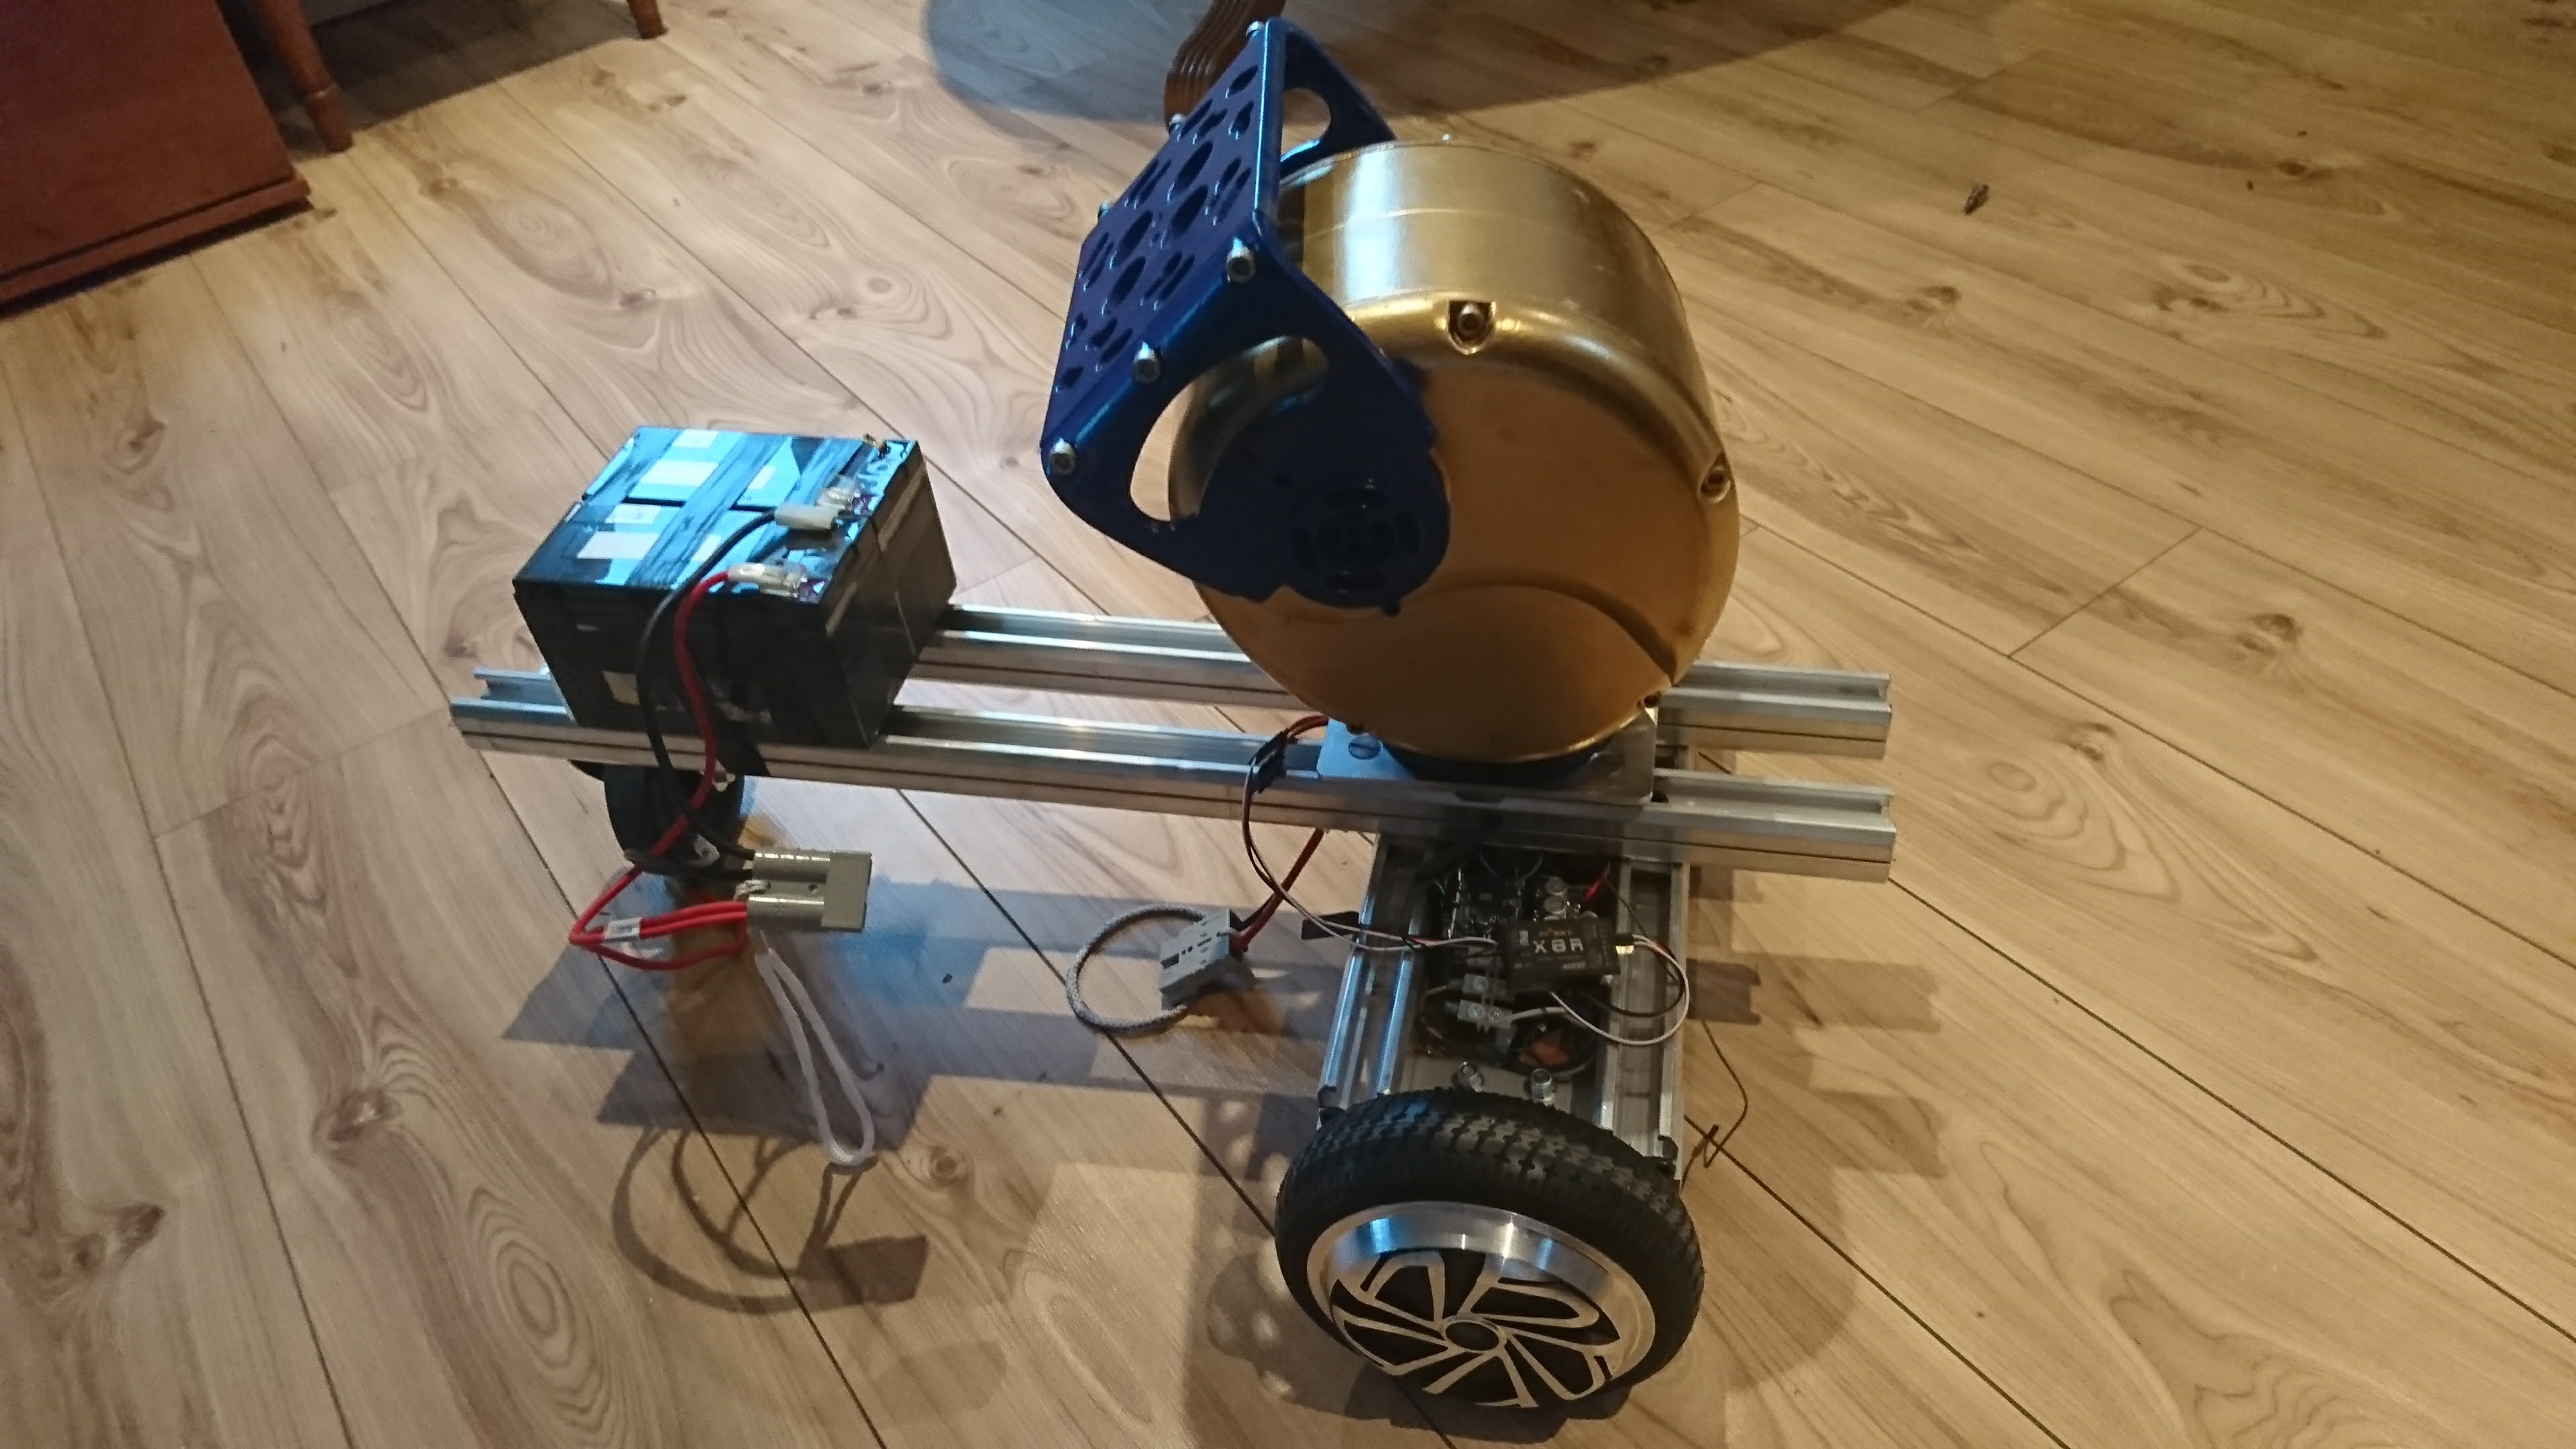
Anyways, I hookup one of the motors on the bench, start off with a pot to change the speed of the motor, all works great, nice and easy. so I start to mount all these bit up on some old copper clad board I had laying around, all the motor controls sit nicely in between the motors, Will clean up the wiring later. Next I start writing the Arduino code, start off simple and get one side working, first with a taranis remote control and then with serial data from a PC, no problem, then I pretty much copy the code I have written to control the extra motor controller. fire her up and one side works great the other side is anything but controlled, seemingly doing whatever it wants, strange, so double check wiring. All seems to be fine, start double checking code, all seems to be in order too. so I pull the motor controller board off and stick on a spare motor I have, it works as i expect, really strange, so I stick back in the robot, try again, its does not want to play, so with a bit of head scratching I think to myself its late will pick it up again tomorrow.

So next day I double check everything again, all in order, I even write some really simple code to make the other side work. But still no play.  So I admit defeat I pull the controller out again and try it on the bench, oh I see now, wont work on the bench with the spare motor either now, so a little more messing and it seems it just likes to do random things, sometimes works sometimes doesn’t, maybe its got different firmware of maybe its just got hit by static, in any case I order two more of the controllers, which have arrived now, but I’ve not had time to fit on in.  So I will post again about my adventures with these controllers, but at the moment its a 50/50 chance of the them working, I will give credit to one that does work though, its a great cheap large brushless motor controller when hooked up to the Arduino.

DC 12V-36V 500W Brushless Motor Controller Hall Balanced Car Driver Board U5Y

Code name Iron-DR – Part 1 – The Bits

So as some of you may know, I have been in to electronics, mechanics and all things relating to robotics since an early age. My later life has taken me on some great adventures and I now have a wonderful family but this has also taken me away from where I started, where my roots are, the building, inventing, tinkering that is robotics.

So over the last couple of years I have been collecting parts, from bits out of skips to cheap parts off ebay and amazon, all gradually building up an idea in my mind as to how and what this robot will do and what it will look like, although the later i’m still not sure about.

So it started with some PTZ motors i got out a skip, thinking hmm these would make great super heavy duty servos , these are unstoppable by hand on even a 12 Volt supply and they are rated at 24 Volt. They also have built in limit switches and potentiometers, so coupled to an Arduino and a bit of code I now have one large, 2 degree of freedom servo, great stuff.

Dennard 2000 PTZ motor housings
Dennard 2000 PTZ – the insides

These PTZ housings are probably one the best scores I have ever had from a skip, although they were coated in a thick layer of aluminium oxide from having spent their life out side on the side of roads, damn you road gritters.

So next I needed something to drive this thing along. I thought long and hard, searched everywhere but still have never found a reliable solution at a low cost to make tank tracks, that’s what I would really like, by the way I get a kick out of recycling things, you might of guessed I don’t often pay for things  when building robots. So tank tracks aside, everyone has started buying hover boards, although they don’t hover, they are a great source of large brushless motors, with no need for gearing and incredibly good power output to consumption, ebay it is, and a week or so later a box with 4 of then in arrives, quoted as being 500 Watts each, that will do the job!

500 Watt Brushless Motor with hall feedback

Other bits collected, from skips, lithium battery packs from laptops and electric bicycles, check out the other blogs here to see about building up the battery packs for this project.

I was also able to score the below aluminum bars, which are great as they had loads of fitting attachments on them and makes things really easy to make, did I mention its aluminum and looks cool, lol.

anyways that’s all for now, part 2 will be soon.

Lithium Batteries

One of the difficult parts when prototyping  a new project is to find reliable power sources that don’t cost you too much. Here I’ll show how to refurbish dead battery packs by stripping them down, testing each cell and combining cells to produce a new pack.

I’ve been pretty luck with some of my recent finds, an old electric cycle lithium pack, they seemed only to have a faulty connector to almost dead Apple MacBook Pro batteries, so I decided to tear them down to see if there was something profitable.

Here is a look at them

Electric bicycle lithium battery pack

Apple MacBook Pro batteries – Cell Part Numbers US604496


So next step is pull the packs apart and get each individual cell out, i know this is a pain, particularly when they may already be made int eh size you want, but time spent here will save a lot headaches and pain later.

13A23 lithium cell on charge


so above we have a cell on charge, this is from the bicycle pack, didn’t find any information on google about this one but by calculation should be 4.25 amp, so a pretty good size. note start of slow, so i set the charger to 500 mA and checked regularly  while it was on my desk to make sure it was not getting warm, if it does start to get warm its a good sign that cell is dead, chuck it. equally if after charging and left unused for a few days you check the cell and find its dropped voltage say over 0.2 Volts, its a cell thats probably going to go bad, chuck it.

Go through all the cells you have, charge them and make notes of their voltages and when you come to make up your battery pack, check the cells have not lost voltage, only use the best ones you find, this is the same for the famous 18650 cells that are used in laptop batteries.

I would also recommend however tempting they seem dont get fooled into buying lithium cells from china or anyone that claims supper high capacity cells and really cheap prices, you will only get disappointed when you find out in fact they only hold a few hundred mA at best.

so why do i want these cells, what am I planing with them, I will show you all soon but for now a quick gimps (ignor the lead acid batteries on it, there just for testing as i had them to hand), enjoy – keep safe

Mechatronics – Engineering the future

Mechatronics, IoT, and Industry 4.0

Mechatronics is a term which is popping up frequently these days, by the way, it’s not new. If we recognise the first reference to it, when Japanese engineer Ko Kikuchi combined the words mechanical and electronics in 1969 then it’s been around 47 odd years.

In the UK the first MEng course in Mechatronics was established in 1985 and 3 years later in 1988 the first graduates appeared.

Multi-discipline approach for Mechatronics

So what is Mechatronics and why is it of significant importance now? Well actually it’s always been important but with IoT and the Industry 4.0 movement it’s now a go to term which captures all.

Mechatronics brings together an integrated approach to engineering which involves electronics, mechanical and computing disciplines. Most production and manufacturing facilities will employ a high degree of Mechatronics. The division between electronics and mechanical engineering is now more blurred, the outcome of this is a more integrated approach to engineering in general.

With the advent of Raspberry Pi, Arduino and similar single board computers more people are learning to code and looking at wider applications through the open source approach than ever before. Go to any Maker Fair, Fab Lab and Hacker Event and you will see Mechatronics in action.

So what is the scale of Mechatronics?

Well think about motor control, from large 3 phase inverters to small micro-processor control boards and you can see the scope of Mechatronics, even in this technology field it’s large. Now consider all the machine tools, such as laser cutters, pressing and punching tools, mix this together with packaging and conveyor systems and you can see that it’s huge, now add the IoT equation to the mix and we have something which is truly massive.

This is great news if you specialise as a Mechatronics Engineer, you are very employable and more in demand than ever before, seriously, if you want a career in engineering it’s worth considering Mechatronics. For here the field is open for Robotics, Aerospace, Motion Control, and whole host of engineering possibilities.

Moving forward it won’t be long before we are including Augmented Reality as a major part of the engineering mix (topic for another day).

Let me quantify the greater need for Mechatronic Engineers by highlighting the basic requirements of IoT, DATA.

Data is King in modern manufacturing

No big surprise here that the key to IoT is data, but consider how that data is gathered. First of all which data point’s do you need to measure to give a logical coherent output. What do you do with that data once you have it, how do you process it to make sense of it. The reason for all this data is to build efficiencies and cost saving into the system, this plays perfectly into the multi-discipline world of mechatronics.

This might sound too simplistic but who better than a mechatronics engineer to help companies remain competitive in an ever increasing environment where every second counts and inefficiencies cost millions. Asset management is reliant on great system integration and communication between processes. In industrial environments this can lead to a reduction in un-planned maintenance, with orders on specific products being placed before breakdown occurs. In manufacturing, parts are available on assembly lines just as you need them.

Robots and alike wont take over the world any time soon, buts its clear to see in a modern world they and mechatronics play an every increasing part in the world we live.